

Marble floors lose their original clarity over time due to adhesive residue, coatings, scratches, dullness, stains, and uneven surfaces. Restoring an old marble floor is not simply a matter of polishing the surface. It requires a systematic process: adhesive removal, coarse grinding and leveling, medium grinding for scratch repair, fine polishing, and strict control of the wet grinding process.
This guide presents a practical restoration process and diamond grinding plan for marble floors.
Initial Assessment and Adhesive Removal
Before grinding, the floor must be assessed and all old adhesive, glue, coatings, and contaminants must be removed.
- •Inspect the marble for cracks, stains, lippage, hollow areas, and previous repairs.
- •Identify the type of adhesive, coating, or glue residue on the surface.
- •Remove old adhesive mechanically with a scraper, coating removal tool, or suitable floor machine.
- •Use solvent-free or marble-safe adhesive removers where chemical assistance is required. Always test a small area first.
- •Avoid aggressive acidic cleaners, which can etch calcium-based marble.
- •Remove all residue thoroughly before grinding; residual adhesive can clog diamond pads and cause uneven finishes.
- •Protect walls, edges, and surrounding areas before work begins.
Proper adhesive removal prevents pad contamination and ensures consistent grinding results.
Coarse Grinding and Leveling
Coarse grinding is the foundation of marble floor restoration. Its purpose is to remove deep scratches, lippage, surface damage, and uneven areas, and to establish a flat, uniform surface.
- •Use metal-bond diamond tools for coarse grinding and leveling.
- •Select the bond according to marble hardness. Because marble is a relatively soft stone, hard-bond diamond tools are generally recommended to maintain cutting efficiency.
- •Start with a test area to confirm the tool, speed, water flow, and pressure.
- •Use a cross-hatch pattern and overlap each pass to avoid waves and uneven areas.
- •Keep the machine moving at all times to prevent burn marks and localized overheating.
- •Check flatness frequently with a straightedge or level.
- •Do not over-grind edges or thin areas.
Typical coarse grinding may use 30/40 or 50/100 metal-bond diamonds, depending on floor condition and target flatness.
Medium Grinding and Scratch Repair
After leveling, medium grinding refines the surface and removes scratches left by the coarse stage.
- •Progress strictly from coarse to medium grit. Do not skip grits.
- •Use transitional metal-bond or resin-bond diamonds as recommended for the marble.
- •Remove all visible scratches from the previous grit before moving on.
- •Continue using a cross-hatch pattern and consistent overlap.
- •Clean the floor and inspect under proper lighting after each stage.
- •Avoid excessive pressure; let the diamond abrasives do the work.
- •Keep water flow consistent during wet grinding.
Typical medium grinding may include 200/400 grit, followed by 800 grit where required.
Fine Polishing and Gloss Restoration
Fine polishing restores clarity, depth, and gloss. This stage requires clean tools, controlled speed, and proper wet grinding.
- •Use fine resin-bond diamond pads for honing and polishing.
- •Typical fine stages may include 800, 1500, and 3000 grit, depending on the desired finish.
- •Clean the floor thoroughly between grits to prevent cross-contamination.
- •Use marble-specific polishing powder or crystallizing agent only according to the manufacturer’s instructions.
- •Test any chemical polishing product on a small area first; marble is acid-sensitive.
- •Keep the machine moving and maintain an even wet surface.
- •Inspect the finish under reflected light for haze, swirl marks, and uneven gloss.
A proper fine polishing sequence delivers a clear, deep, and uniform marble finish.
5. Key Points of the Wet Grinding Process
Wet grinding is highly recommended for marble restoration because it controls heat, reduces dust, and supports a cleaner, more consistent finish.
Poor water control can cause uneven polishing, pad clogging, and haze.
6. Recommended Diamond Grinding Plan
| Stage | Main Purpose | Typical Diamond Tool | Typical Grit | Operation |
|---|---|---|---|---|
| Adhesive removal | Remove glue, coatings, residue | Scraper / coating removal tool | — | Mechanical removal; test chemicals |
| Coarse grinding | Leveling, remove deep damage | Metal-bond diamond | 30/40 or 50/100 | Wet, cross-hatch, overlap |
| Medium grinding | Remove coarse scratches | Metal/resin transitional | 200/400 | Wet, inspect after each pass |
| Fine honing | Prepare for polish | Resin-bond diamond | 800/1500 | Wet, clean between grits |
| Polishing | Restore gloss and clarity | Resin-bond diamond + marble powder | 3000 + polish | Low speed, even water film |
This plan should be adjusted according to marble type, floor condition, and the required final finish.
Conclusion
Marble floor restoration is a step-by-step mechanical process. Old adhesive must be removed completely; coarse grinding must establish a flat surface; medium grinding must eliminate scratches; fine polishing must restore clarity and gloss; and wet grinding must be controlled throughout. By following a proper diamond grinding plan and respecting the soft, acid-sensitive nature of marble, contractors can achieve a durable, professional restoration.
FAQ
Q: Can I skip coarse grinding if the floor only looks dull?
A: Not always. Dullness may hide scratches, lippage, or adhesive residue. A test area should be ground to confirm the actual condition before selecting the diamond plan.
Q: Why is wet grinding preferred for marble?
A: Wet grinding controls heat, reduces dust, prevents pad clogging, and helps produce a more consistent finish.
Q: Can I use acidic cleaners on marble?
A: No. Marble is calcium-based and acid-sensitive. Acidic cleaners can etch and dull the surface.
Q: How do I know when to move to the next grit?
A: Move to the next grit only when the scratches from the previous stage have been removed and the surface is uniform under proper lighting.
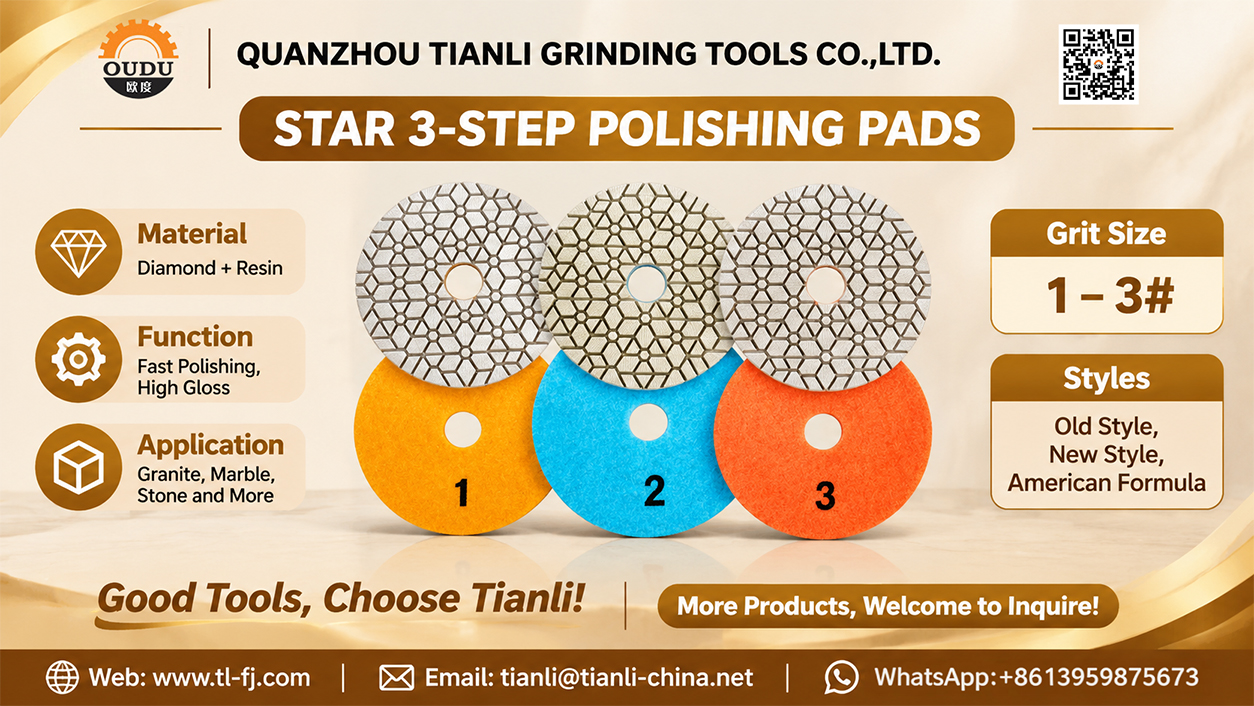
Professional Diamond Tool Solutions from Quanzhou Tianli Grinding Tools Co., Ltd.
For marble floor restoration, the right diamond grinding plan and tool specifications are essential for efficient adhesive removal, coarse leveling, scratch repair, fine honing, and final polishing. Quanzhou Tianli Grinding Tools Co., Ltd. provides professional diamond tools for granite, quartz, marble, and concrete processing industries, including diamond grinding discs, resin polishing pads, and related tooling for different restoration stages. With practical tool selection support and technical guidance, the company helps contractors and fabricators match the correct diamond bond, grit sequence, and operating parameters to each floor condition and target finish. For high-quality diamond tools and professional technical support for marble floor restoration and wet grinding applications, contact Quanzhou Tianli Grinding Tools Co., Ltd.
Post time: Nov-05-2026


